Before I painted the hive, I measured out some handy legs to attach. For some odd reason, I didn't take any photos of the legs as I worked on them. They are pretty simple and cut so that they support the hive by the bottom while attaching to the front and back with 2.5" galvanized bolts.
 |
| It has legs! I made them short so I can put the hive on cinder blocks and keep all the wood off the ground. |
 |
| The top bars in the hive. |
Here you can see the top bars on top of the hive here without the lid. I do not have the woodworking expertise to make these beautiful triangle top bars that are a single piece of wood. There are a lot of ways to make top bars, but ones like this can support a lot of honeycomb and give a large surface for the bees to build on. My uncle Tommy, an excellent woodworker, made them out of a walnut tree from where I grew up.
 |
| Top bar |
 |
| 1/2" hardware cloth on the entrance holes and 1/8" on the floor |
Once the legs were attached, the only thing left to do was put some hardware cloth on the bottom and on the entrance and vent holes. The hardware cloth on the bottom is small so the bees cannot get through and is to allow ventilation. On the entrance holes, it is 1/2" so the bees can go in and out, but mice cannot raid the hive or nest in it.
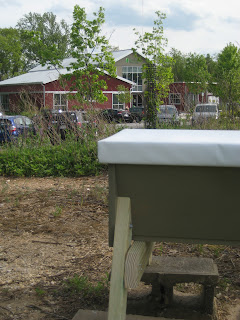
Finally, I was able to move the hive up to its final resting place!


No comments:
Post a Comment