Monday, April 30, 2012

Painting

I initially wanted to paint my hive with a mix of linseed oil and beeswax to be a bit more natural with it.  After getting some advice on the matter (and free exterior paint) I changed my mind.  The thing is, you only paint the outside of the hive to protect the wood.  It has nothing to do with what the bees are doing inside the hive.

Painting with linseed oil would mean needing to reapply it every year.  This just doesn't seem to be a smart thing to do with a hive full of bees.


Once the paint dried, I brought the hive inside and drilled entrance holes.  The entrance does not need to be anything fancy so long as you can make it bigger or smaller depending on the health and size of your colony.  This is important because the bees need to be able to guard their entrance.  A weak colony cannot guard a large entrance.  So, when my colony starts out, I will have most of the holes plugged with corks.  As the colony grows, I will unplug the corks to give the workers more room to fly in and out of the hive.

You can see that I also added a ventilation/entrance hole on the opposite corner from the entrance.  The entrance holes are spaced 1.5" apart.

Corks!

Friday, April 27, 2012

Other Beekeeping Necessities

Anticipating the completion of my hive and the availability of bees from a co-worker's top bar hive, I placed an order for the other equipment I will need.  The necessities are really quite simple:  a veil to cover the face, a smoker for "calming" the bees, and a hive tool for prying the bars free and scraping brace comb and propolis.  I ordered these from H.T. Krantz, a company in Frederick, MD.
HTK Professional Beekeeper's Jacket
  - Size: Medium
HK-BKJ $48.99 1 $48.99
7" HTK Hobby Smoker HK-SM7 $27.99 1 $27.99
Maxant Hive Tool MI-MHT $11.49 1 $11.49
Pure Beeswax - 1LB HK-BW1 $6.00 1 $6.00
Sub-Total: $94.47
Ups Ground: $11.09
Maryland Tax (6%): $5.67
Total: $111.23
Unfortunately, the jackets and hive tools are back-ordered, so nothing has arrived yet.  I'm pretty disappointed that I did not know this before ordering. I would have preferred to pay the slightly higher prices at other suppliers and get my goods sooner.  That being said, the prices are considerably cheaper with H.T. Krantz for what I wanted.

Good news is, I ordered my bees!  I spoke on the phone with a very nice lady (Ruth Seaborn) down in Tennessee at Wolf Creek Apiaries.  I really wanted bees from Draper's Super Bees in PA, but the price just wasn't right.  Wolf Creek's bees are also used to building smaller, more natural cells so I'm hoping they work well in the top bar.  Total price w/ shipping $108.75 for 3lbs. and a queen.  They are set to be shipped May 8th!

Topping It Off

I managed to screw up the measurements on a lid for my bee box not once, but twice.  Both times, it was not long enough.  It was a pretty simple mistake I made, but a bit silly that I made it twice . . . err three times.  Yup, the third time was a hair too short as well because I cut an angle the wrong was and had to make a new cut.  Fortunately, it was fixed easily and made for a snug but not tight lid.

The next step was to cover the frame with a light but tough material that would repel water.  At first, I was thinking of using old discarded corrugated plastic signs.  Then, I remembered that Irvine has a yards and yards of old vinyl banners!  Perfect for the roof.


Now, I had to do some upholstering.  Having no experience in this, I should have looked on the internet.  I didn't,  but the bees won't care that the roof is not perfect, so long as it keeps water out.


Thursday, April 12, 2012

Materials

While a top bar hive could be made out of pretty much anything, I want to be sure mine will last for a while and gives the bees an optimal working environment. I flattened out my hive plans,

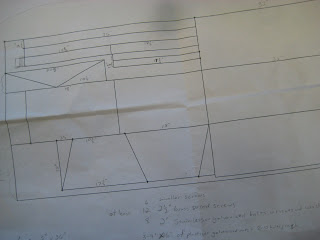
searched for appropriately sized lumber, and put together a materials list.

(3) 1"X12"X6' #2 Pine boards
Galvanized (or brass) wood screws - I chose 2 1/2"
(8) 2" galvanized hex bolts, nuts, and washers

Total price = $50.22

I thought this would be enough wood for both the hive body and the lid, but that turned out not to work. More on that later.

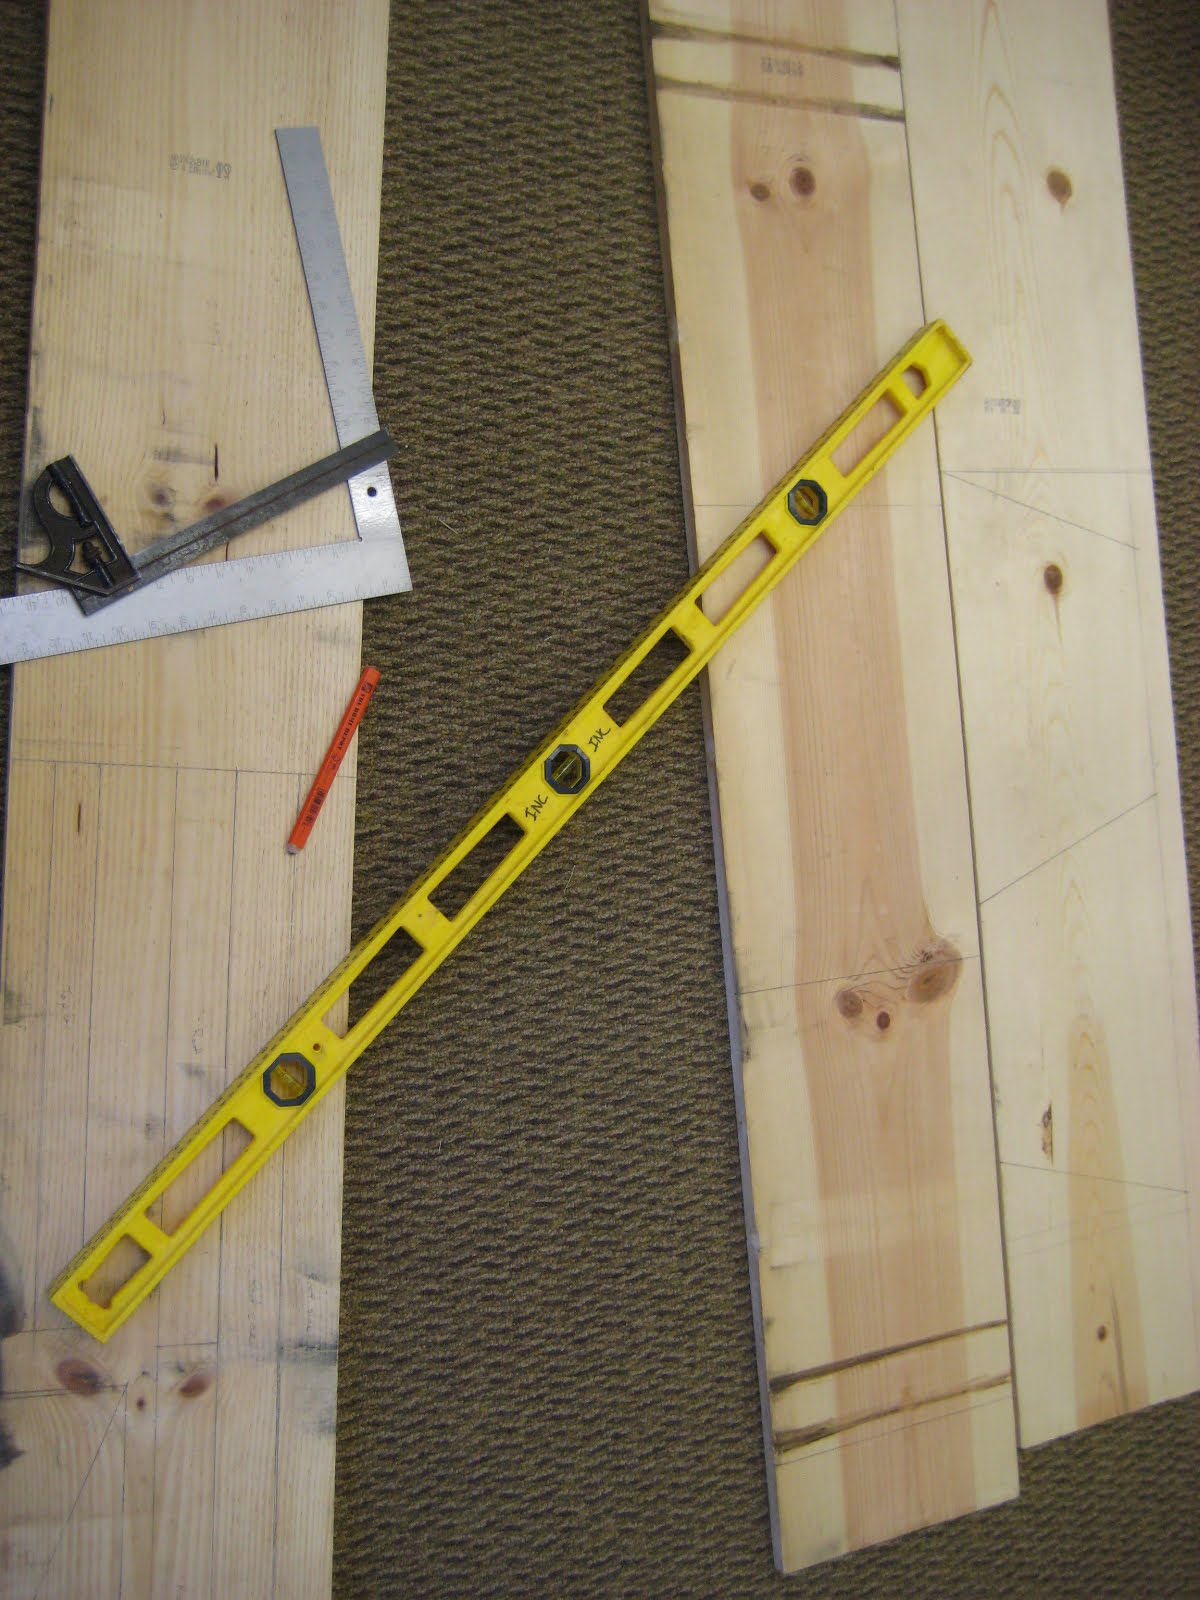
After marking up the wood, I was ready to begin cutting.
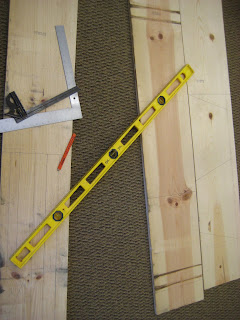
I've never really done much woodworking and quickly found that some of my cuts and measurements were not quite right. Fortunately, the critical angles, widths, and lengths were on par.

There are very few important measurements when building a top bar hive. Since, in my case, I wanted to be based on the golden mean, I wanted to be sure that the sides of the hive would meet the bottom at a 120 degree angle. This meant the follower boards had to be the correct dimensions. Follower boards are meant to fit exactly into the hive, hugged by both sides and the bottom and suspended by a top bar. Honeybees tend to fill in any cracks they don't want in the hive, and if the follower boards are not snug, the bees may build propolis around the air spaces which would result in quite a bit of scraping just to get the boards out.

The purpose of the follower board is to limit the size of the hive and keep the bees in the part of the hive you want them. As the colony grows, moving the boards outward allows you to make a bigger space for your bees. Too much space too soon could prove stressful and limit the bees ability to climate control the hive.

Fortunately, I was patient when cutting and piecing together the follower boards and they came together just right. Once they were together, I could set the sides along the angles and trace the front and back boards of the hive to know where I would need to drill holes and insert screws. Again, these are important measurements so the internal dimensions of the hive will be the same front to back. Now I was ready to build!

The front and back screwed into the sides:

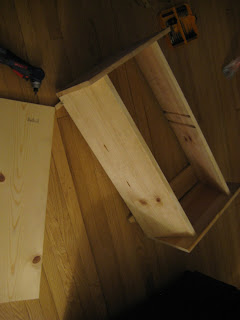
The bottom board also screwed into the front and back boards (at this point I realize I'm making a manger):


You can see the follower boards inside the hive in this picture. Eventually, the bottom board will have a rectangle cut into the bottom with hardware cloth covering the opening. This will allow for ventilation in the hive. Since it needs to be cut out with a jigsaw, I was able to attach the bottom before worrying about the hole.

Unfortunately, I did screw up my measurements and cuts for the roof/lid. I'm glad I did though because I think my original lid would have been too fancy and heavy and I decided to pare it down. I'll have more on that once it is finished.

Monday, April 9, 2012

Why Bother?

There are three primary reasons I want to have a beehive:

1) I am a naturalist by trade, am terribly fascinated with honeybee societies, and would like to get up-close and personal with one.

2) There is something satisfying about cultivating natural resources. Beekeeping seems to combine a number of hobbies (woodwork, agriculture, culinary art, etc.) into one.

3) Fresh home-grown honey on my homemade fried tortillas!

Tuesday, April 3, 2012

So I decided to get bees . . . now what?

In Maryland, anyone who wants to keep bees is required to have a hive with movable frames. A frame is the foundation on which the honeybees will build their wax comb. Traditionally, these have been wooden frames nailed together with a piece of wax (or more modernly, plastic) foundation put in the middle.

The frames are placed in a box (what is known as the Langstroth hive) with enough space between them for a bee to maneuver, make honey, drop off pollen, and raise brood. "Bee space" is approximately 3/8". It was discovered by the namesake of the Langstroth hive, Reverend Lorenzo Langstroth, that bees would not build comb if they did not have at least this much space.

Top bar hives are more primitive than this, for better or worse. While the Langstroth frames work great for honey production, it is theorized that the foundation used does not allow the bees to make the hexagons in the honeycomb the appropriate size for preventing disease and controlling mites. Natural combs are built different sizes for different tasks and the bees are able to chose to build what they need when they need it. In a top bar hive, the bees are allowed to do this. The top bars are simply a bar resting across the top of the hive that the bees are able to build their comb on. The comb is suspended perpendicularly to the ground in a "U" shape. While this tends to mean less honey production, it also allows the bees to manage themselves a bit more by building how they prefer to build.

Upon discovering that people use top bar hives as an inexpensive, less intense way to keep bees, I decided to start a hive of my own. I had worked with the Langstroth Hive in college and know a good bit about the life-cycle and needs of a bee colony. Unfortunately, I don't know a lot about building things, nor do I have the tools necessary. So I began surfing the web for suggestions.

There are plenty of folks out there who make top bar hives for sale. There are not enough folks, however, competitively drive down prices. While the hives offered are pretty, I'm not about to drop $300-400 on a beehive that people in Kenya are making out of re-purposed materials. In fact, this is one of the great advantages of the top bar. You can make it out of virtually anything so long as it is sturdy, holds the bars flat, and is made out of materials that won't poison the bees or honey (e.g. pressure treated lumber).

Fortunately, I stumbled upon a "beginning beekeeping" website that mentioned a bloke name Philip Chandler, the Barefoot Beekeeper. Mr. Chandler has written a book on the subject of natural beekeeping as well as plans for a top bar hive. I had a starting point!

I browsed many other websites, but Chandler's plans were the best laid out for free. I liked the idea of a golden mean hive as the golden mean does seem to pop up a lot in nature, so I slightly altered the dimensions. Basically, I made my hive the lower portion of a pentagon.

Next up: Finding the right materials and tools.

Monday, April 2, 2012

The Bee-ginning

Back in 2007, I took an apiology class with Dr. Dewey Caron at the University of Delaware. I thoroughly enjoyed the course, managed an A, and could not wait to get a hive of my own. Unfortunately, I had 2 years left to my degree, little money to start an apiary, and nowhere to put the bees.

Now, I am a naturalist at a local non-profit nature center. I plan on staying in the area for a while as my wife, Catie, and I like life here so far. It seems I have the time for beekeeping all of a sudden after years of moving from one seasonal job to the next.

The nature center already has several hives of bees and even produces a modest amount of honey for sale. It sits on 116-acres of former pasture land and secondary growth forest. It would be easy to keep a hive here without disturbing the public or the bees. I have the space.

Then I discovered a low maintenance, inexpensive hive called the top bar. These hives are used in many countries around the world but have been forgotten in the U.S. for centuries due to the success of the Langstroth hive. They have been resurrected by amateur beekeepers for the ability to make and manage them cheaply, the idea that they are a more "natural" way to keep bees, and that they are rather attractive in a back yard (when made well). I have the money!

And so begins my adventure in beekeeping and managing a top bar hive colony.